Student Video Presentation Steps for Powerful Results
Discover effective student video presentation steps with this clear, step-by-step guide. Achieve polished, engaging video results from setup to final review.
Aniket
Author
Student Video Presentation Steps for Powerful Results

Over 80 percent of American professionals say video presentations play a crucial role in successful communication. When a message is clear and well designed, viewers stay engaged and remember more. Defining your presentation goals and using every available tool can transform a simple video into a powerful learning experience. This step by step guide reveals how to create engaging, polished video presentations that inform and inspire any audience.
Table of Contents
Quick Summary
| Key Point | Explanation |
|---|---|
| 1. Define Clear Objectives | Establish specific goals guiding your presentation to enhance comprehension and engagement. |
| 2. Utilize AI for Scripting | Use AI tools to create a structured script while retaining your personal voice and ensuring clarity. |
| 3. Select Effective Visuals | Choose visuals that support your narrative without overwhelming your audience, focusing on clarity and consistency. |
| 4. Practice Video Delivery | Prepare thoroughly by practicing your script, paying attention to tone, pace, and body language for a polished presentation. |
| 5. Review and Edit Thoroughly | Critically assess your video for clarity, flow, and accessibility before sharing to ensure an effective final product. |
Step 1: Define your video presentation goals
- Step 1: Define Your Video Presentation Goals
- Step 2: Draft A Focused Script With AI Help
- Step 3: Select Visuals And Brand Your Video
- Step 4: Record And Enhance Your Video Delivery
- Step 5: Review, Edit, And Share Your Final Video
Creating a successful video presentation starts with crystal clear objectives. Your goals will serve as the strategic roadmap guiding every element of your presentation, from content selection to visual design and delivery approach.
To develop meaningful goals, consider the core purpose of your presentation. Are you aiming to educate, persuade, demonstrate a concept, or share research findings? The University of Illinois Springfield emphasizes that presentation objectives should focus on gaining advanced understanding of complex concepts, enabling you to effectively teach and communicate your message. This means your goals must go beyond merely sharing information and instead aim to create genuine comprehension and engagement.
Start by asking specific questions about your intended audience and desired outcome. What key skills or knowledge do you want viewers to acquire? Learner-centered objectives that use observable and measurable verbs will help you craft a more impactful presentation. For instance, instead of a vague goal like "talk about marketing," set a precise objective such as "viewers will understand three key digital marketing strategies and explain how to implement them."
Pro Tip: Create a one-sentence goal statement that clearly articulates what success looks like for your specific audience. This concise objective will keep your presentation focused and purposeful.
Step 2: Draft a focused script with AI help
Drafting a compelling video presentation script requires strategic planning and innovative tools. AI can become your powerful ally in transforming your initial ideas into a well structured narrative that captures your audience's attention.

AI writing tools offer remarkable capabilities for script development. Discrete stages of AI assisted scripting can help you brainstorm ideas, generate initial content, and refine your script's tone and clarity. The key is to leverage AI as a collaborative tool while maintaining your unique voice and perspective. According to research from the National Institute on Artificial Intelligence, you can generate initial content and explore different genre styles to guide your script's voice.
Start by inputting your core presentation goals and key points into an AI scripting tool. Provide context about your target audience, desired tone, and specific objectives. Then review and edit the generated draft, ensuring it reflects your authentic communication style. Focus on maintaining a conversational flow while incorporating precise information that supports your presentation goals.
Pro Tip: Treat AI generated scripts as a first draft. Always review, personalize, and refine the content to ensure it sounds genuinely like your own voice and meets your specific communication objectives.
Step 3: Select visuals and brand your video
Visuals are the powerhouse of your video presentation transforming complex information into engaging visual narratives that capture and maintain audience attention. Your visual strategy should not just complement your content but elevate it to create a memorable learning experience.
Designing slides that reduce cognitive overload while supporting key messages requires strategic thinking. The University of Washington School of Medicine recommends creating visuals that minimize extraneous processing and maximize understanding. This means selecting graphics and images that directly support your narrative without overwhelming viewers with unnecessary information. Prepare visuals intentionally and allow your presentation goals to dictate the number and style of slides, ensuring each visual element serves a clear purpose.
When branding your video, consistency is key. Use your organization or personal brand colors, fonts, and design elements across all slides. Choose a clean, professional template that reflects your presentation style and helps viewers focus on your content. Incorporate your logo subtly, select a color palette that enhances readability, and ensure your visual design creates a cohesive narrative flow from introduction to conclusion.
Pro Tip: Create a visual style guide before starting your presentation to maintain consistent branding and design elements throughout your video.
Step 4: Record and enhance your video delivery
Recording a professional video presentation requires more than just hitting the record button. Your goal is to create a polished, engaging video that communicates your message with clarity and confidence.
Selecting the right recording environment and tools is crucial for producing a high quality video. The International Association for Media and Communication Research recommends choosing a quiet area with minimal background noise, ensuring a stable internet connection, and using a quality headset with a clear microphone. Harvard University suggests scripting your presentation to provide an authentic and structured narrative that helps viewers connect with your content and understand your key messages.
Enhance your video delivery by practicing your script multiple times before recording. Pay attention to your tone, pace, and body language. Use natural gestures, maintain good eye contact with the camera, and speak with enthusiasm. Consider recording test versions to review your performance and identify areas for improvement. Utilize video editing tools to trim unnecessary pauses, adjust lighting, and add subtle transitions that maintain viewer engagement without distracting from your core message.
Pro Tip: Do a complete test recording in your final recording environment to check audio quality, lighting, and background before your actual presentation.
Step 5: Review, edit, and share your final video
Transforming your raw video recording into a polished presentation requires careful review, strategic editing, and thoughtful distribution. Your final product should represent your best professional work and effectively communicate your message.
Reviewing your video through a professional lens involves critically assessing multiple aspects of your presentation. The University of Chicago Data Science Clinic recommends evaluating slide quality, presentation clarity, organizational structure, and overall communication effectiveness. Check that your content flows logically, your explanations are concise, and your visual elements enhance rather than distract from your core message. Ensure your video meets accessibility standards by adding features like audio descriptions, clear captions, and maintaining high visual and sound quality.

When editing, focus on removing unnecessary pauses, adjusting audio levels, and ensuring smooth transitions between sections. Trim any segments that feel repetitive or do not directly support your main points. Consider getting feedback from a peer or mentor who can provide objective insights about your presentation style and content clarity. Select an appropriate sharing platform that aligns with your audience and presentation goals, whether that is a professional networking site, academic repository, or direct email distribution.
Pro Tip: Create a quick checklist of your final review criteria to ensure you do not miss any critical editing steps before sharing your video.
Consider these aspects when evaluating your final presentation before sharing:
| Criteria | Why It Matters | Result of Strong Implementation |
|---|---|---|
| Slide Quality | Engages and informs viewers | Professional, easy-to-follow visuals |
| Audio Clarity | Ensures all viewers understand | Clear message delivery |
| Organizational Flow | Keeps content logical | Audience tracks ideas easily |
| Accessibility | Includes all audience members | Broader, inclusive reach |
Here's a summary of how each step in the video presentation process contributes to overall success:
| Step | Primary Focus | Expected Outcome |
|---|---|---|
| Define Goals | Clarify objectives and audience | Clear, measurable presentation purpose |
| Script with AI | Structure narrative with editing | Engaging and logical storyline |
| Select Visuals | Enhance message visually | Retain attention and simplify concepts |
| Record & Deliver | Professional presentation | Clear, confident communication |
| Review & Share | Final polish and distribute | Accessible and effective video |
Streamline Your Student Video Presentations with AI-Powered Ease
Crafting compelling video presentations requires clear goals, sharp scripting, and captivating visuals. The article "Student Video Presentation Steps for Powerful Results" highlights these challenges that many students face: defining focused objectives, writing engaging scripts, selecting on-brand visuals, and delivering polished recordings without the stress of live meetings. These pain points can slow down your progress and dilute your message.
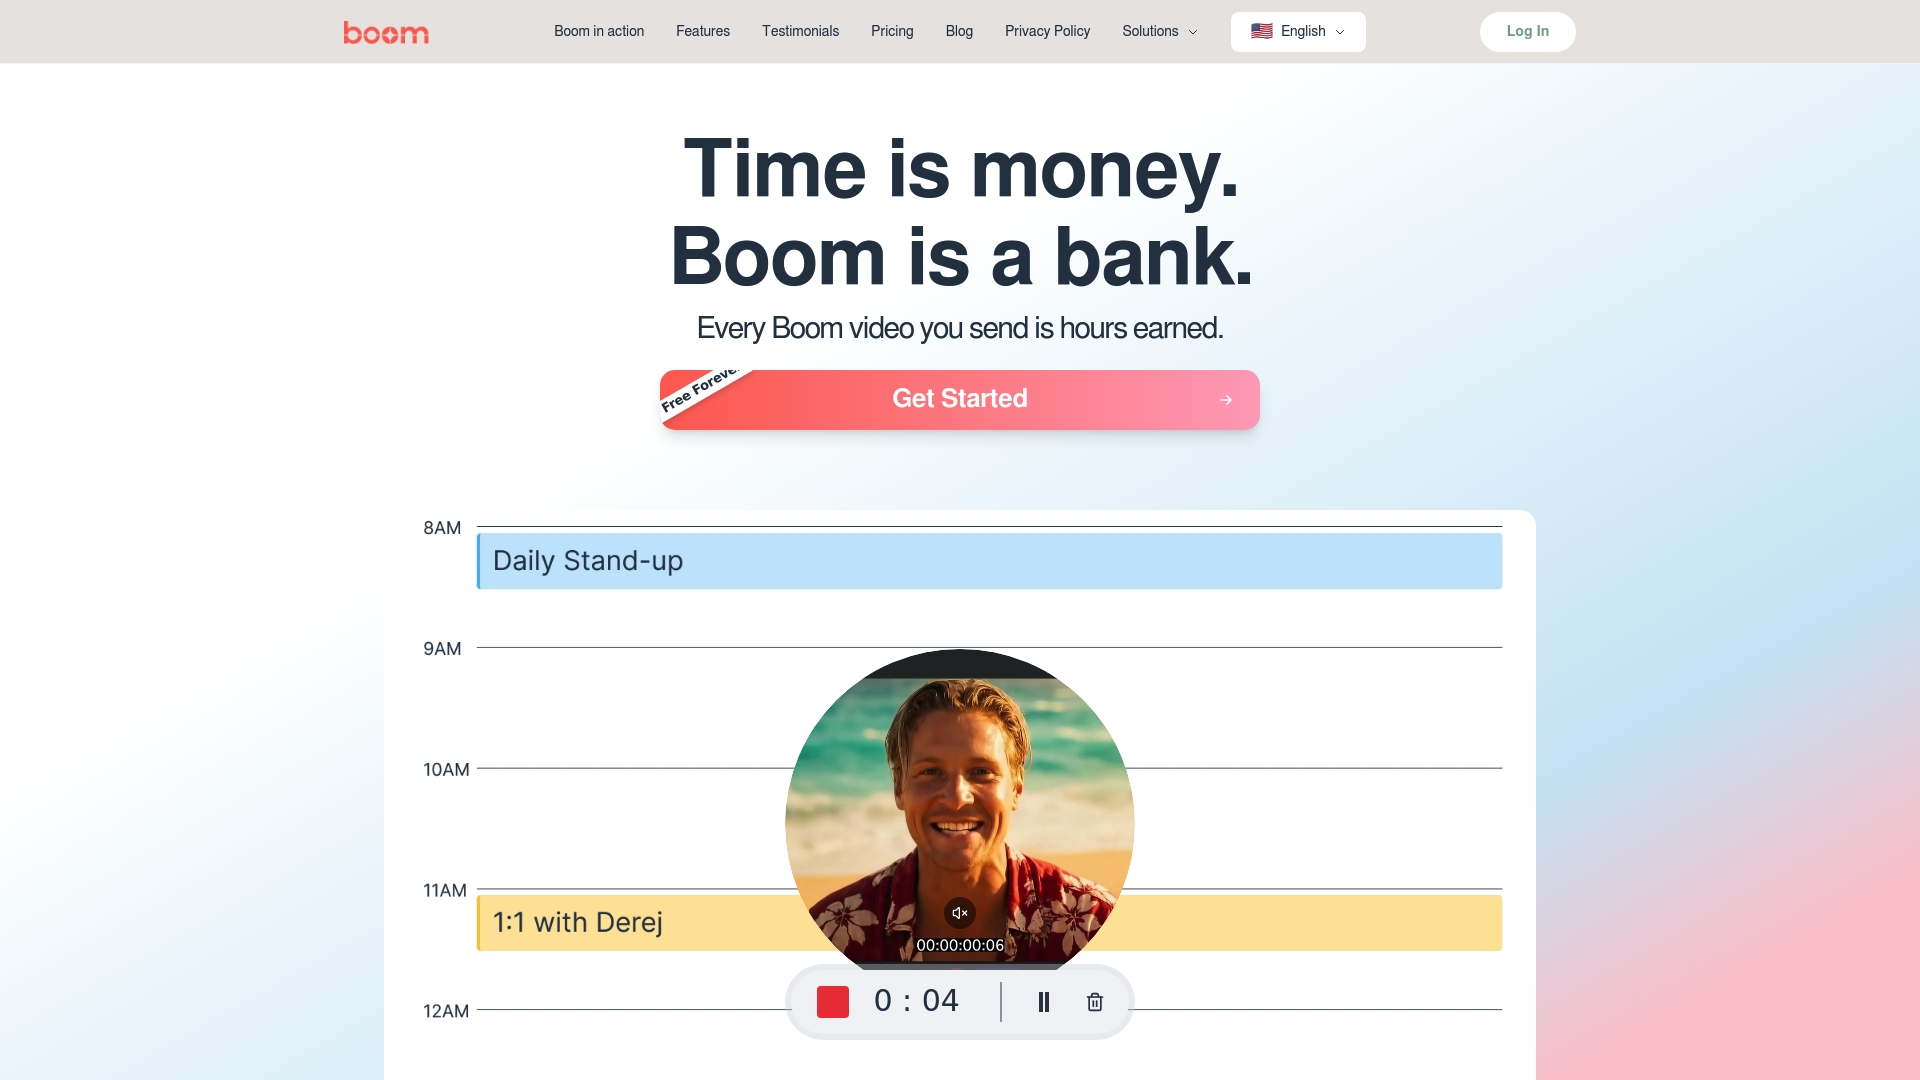
Boom offers the perfect solution to simplify every step of your video creation journey. With features like auto-scripting that instantly generate concise goal-based scripts, voice-to-video recording converting your spoken words into professional videos, and AI-enhanced templates to keep your visuals branded and engaging, Boom saves you hours of effort while boosting your presentation quality. Plus, its async design means no more scheduling hassles or awkward live takes.
Ready to transform your video presentations? Explore how Boom makes it effortless to create, perfect, and share stunning videos without meetings by visiting Boom landing page. Discover tools tailored to your needs with Boom auto-scripting and start earning time back on every presentation.
What if you could nail your next student presentation without the usual headaches?
Try Boom now and turn your video presentation challenges into powerful results. Visit https://boomshare.ai and start creating smarter today.
Frequently Asked Questions
What should my main goal be when creating a video presentation?
Your main goal should be to clearly define what you want your audience to learn or take away from your presentation. Start by asking yourself what specific skills or knowledge you want viewers to acquire. For example, you might aim for viewers to understand three key digital marketing strategies.
How can I use AI to help draft my video presentation script?
You can use AI writing tools to brainstorm ideas and generate an initial script draft. Input your core presentation goals and key points, then edit the content to ensure it matches your voice and style.
What types of visuals should I include in my video presentation?
Include visuals that directly support your narrative and enhance understanding without overwhelming your audience. Choose graphics and images that clarify your message, like charts for data representation or relevant images that illustrate your main points.
How can I record my video presentation like a professional?
Focus on selecting a quiet recording environment and using quality equipment to ensure audio clarity. Practice your script multiple times to improve your delivery and maintain good energy and engagement throughout your content.
What are the key aspects to review before sharing my final video?
Assess the slide quality, audio clarity, organizational flow, and accessibility features of your video. Make sure your content flows logically and utilize feedback from peers to enhance effectiveness before distribution.
How can I ensure my video presentation is accessible to all viewers?
Incorporate accessibility features such as clear captions, audio descriptions, and maintain high visual and audio quality. This will help reach a broader audience and ensure everyone can engage with your content effectively.
Recommended
About the Author
Aniket
Software Engineer.